I started with this. An old, far too modern, end table we bought years ago when our taste was WAY DIFFERENT than it is today. We love to repurpose furniture if possible so I have kept it all these years. And finally got around to giving it some love.
I first sanded down every little nook and cranny. Anywhere I could sand. It is not real wood so I had to be careful not to sand too much. We also "roughed" it up a bit with a hammer and a heavy chain. This is usually done after painting.
After it was cleaned up with mineral spirits it was time to paint. I DID NOT apply a top coat of any kind. Mainly because I wanted to see if the paint would hold. And I rarely do more work than I have to with old junky furniture anyway. So I painted one coat and allowed it to dry. It seemed to hold the paint pretty good so I moved forward. I decided I would use what paint I had on hand. And I had two colors that would be perfect!
Last January I was itching to redo a bench in a bright blue. Remember this beauty?
Color: "All That Jazz" from Lowes
Along with the bright blue I used a lighter blue from a room makeover that went totally wrong.
I mixed the two together and ended up with this. LOVE the country blue color I got.
It really was pretty painted with no distressing, but it is just not my cup of tea.
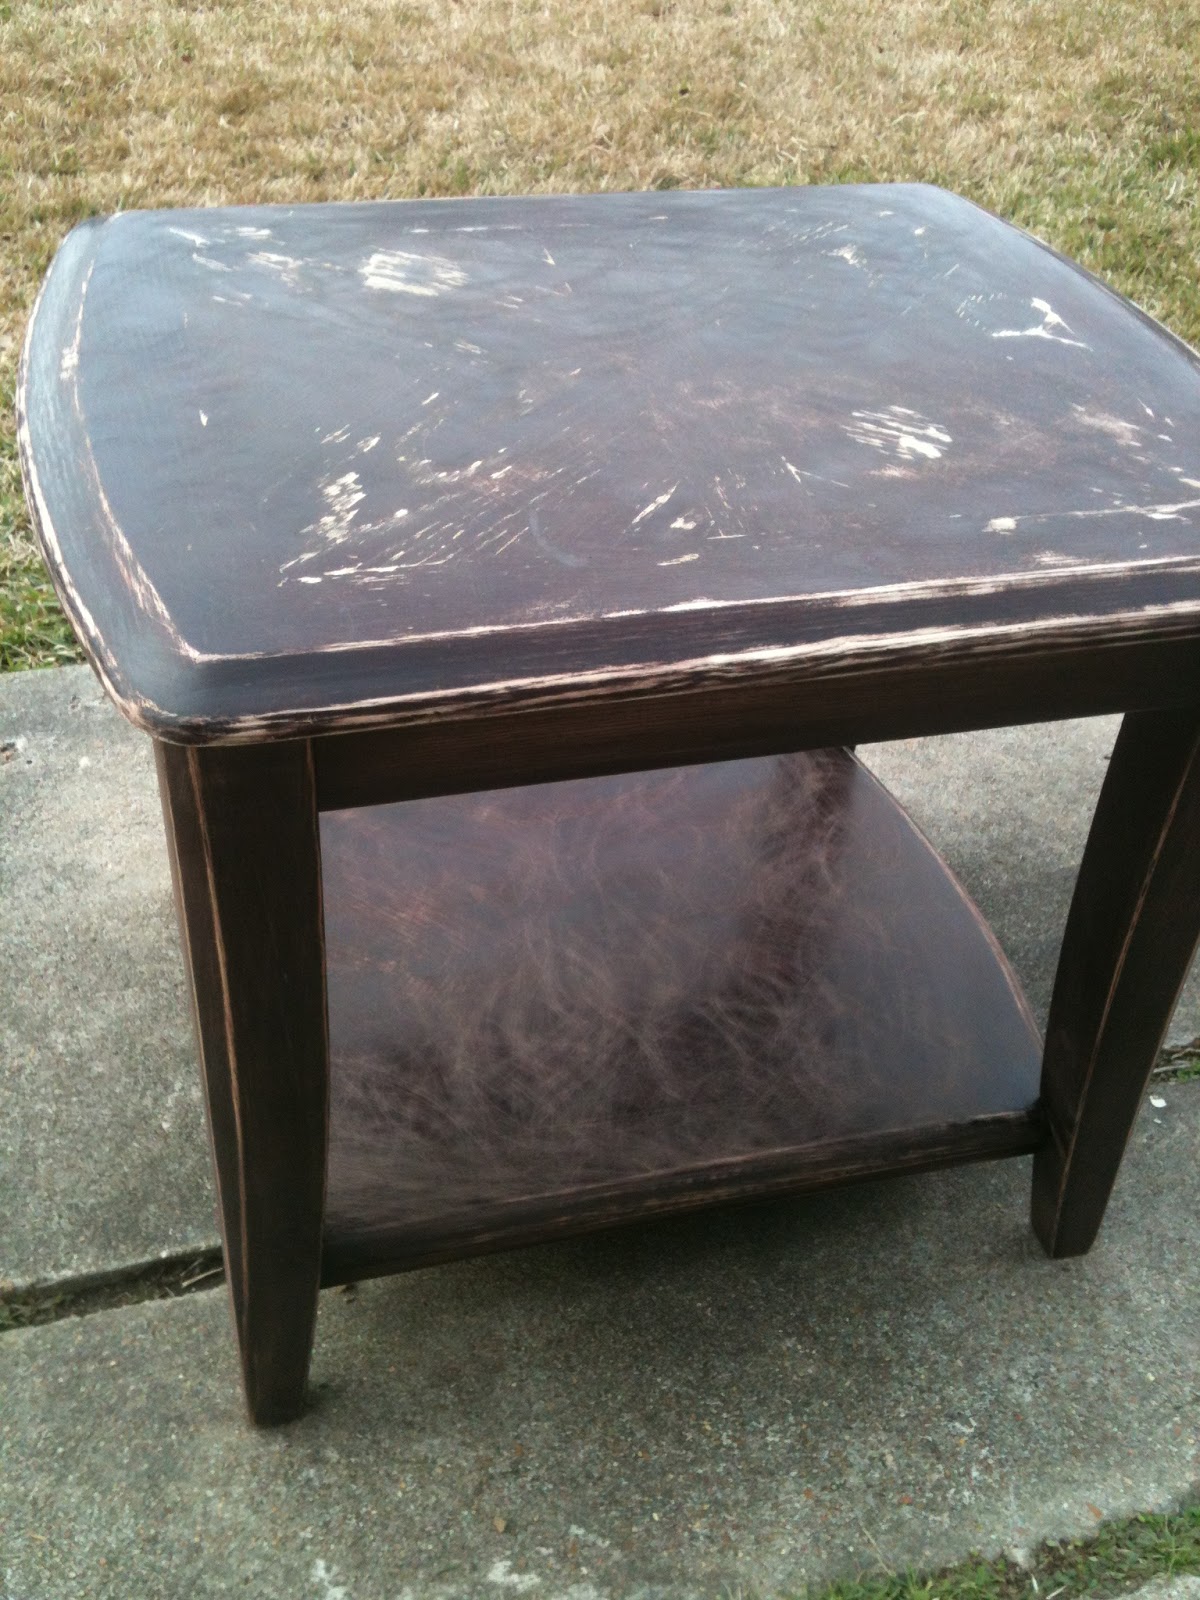
After a second coat of paint it was time to distress this blue beauty. Sanding, sanding, wipe, sand some more and so on and so forth. Then wipe down entire area and let dry. I then painted on a thin coat of polyurethane. I almost didn't, but I know the top will suffer damage from everyday life so this will help it in the long run.
I like distressed furniture and want it to really looked distressed. You do not have to sand and distress as much as I did. It is fun to start out lightly sanding and see where I need to go back and add more or stop. See that area on top that looks like a big scratch? Well that is a result of too much sanding. So I went back and blended it a little. It looks rough, but adds more character.
I wanted to make sure the corners were well distressed because this is where most wear and tear is on furniture.
And those spots where we "roughed" it up, I had to sand down inside the dents since we goofed up and did it before we painted.
Some dents I left alone.....see on the leg.
At one point I turned the table over to distress the feet. I think this is important part that I almost forgot.
I love the way it turned out and am so glad I hung on to this table for so long. It turned out old and worn looking with lots of character. Just the way I like my furniture.
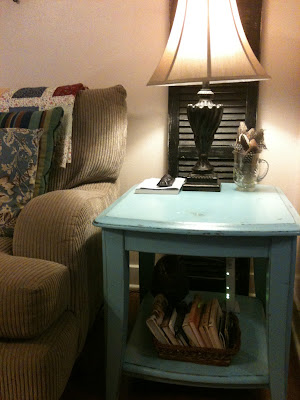 |
Talk about character.....nice crooked lampshade.
|


No comments:
Post a Comment